Starting tomato seedlings indoors is one of the most rewarding parts of the gardening year. It’s where the season truly begins, long before the first warm day outside.
But I’ve learned over the years that what happens in those early weeks determines everything that follows. Strong, balanced seedlings don’t happen by accident; they’re the result of knowing what to do, and what not to do, from the start. Here’s how I approach it, after years of both success and failure at the seed tray.
1. Don’t Start Too Early, Timing Is Everything
Every spring, I’m tempted to sow tomato seeds the moment I feel ready for summer. It’s an understandable urge, but it’s also one of the biggest mistakes new gardeners make.
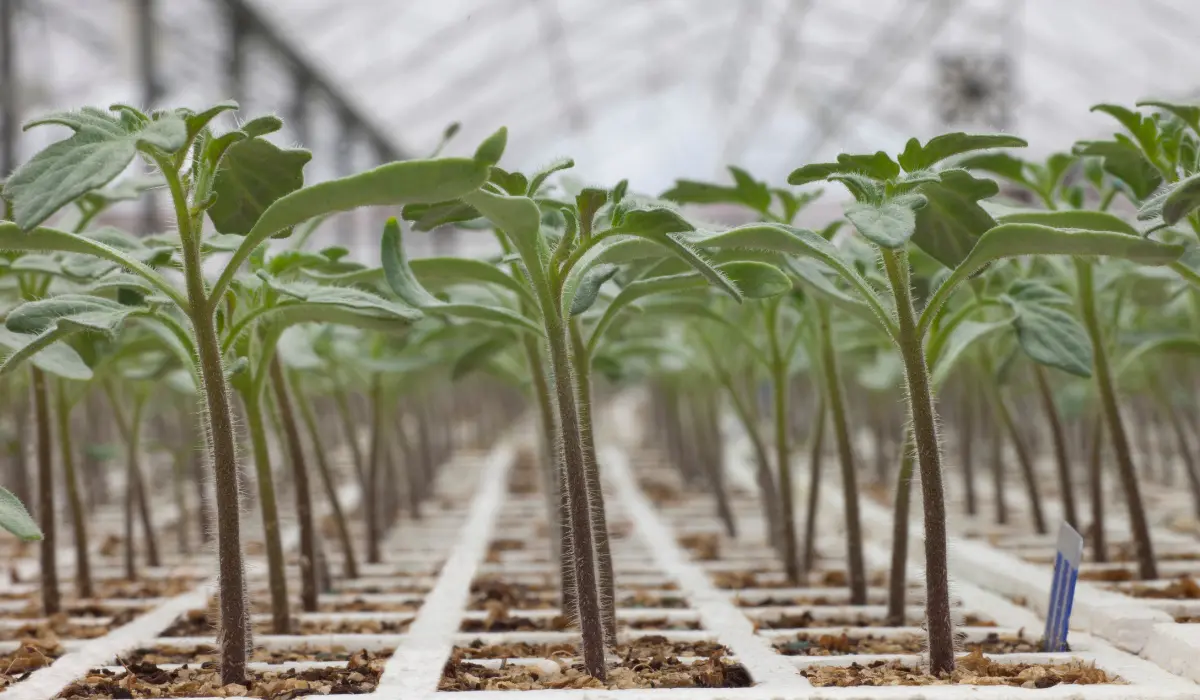
Starting seeds too early means you’ll end up with tall, lanky plants that outgrow their space before the weather is ready for them. When the roots run out of room or light levels drop, the seedlings start to stretch and weaken, problems that can’t be fully corrected later.
I always work backward from my area’s average last frost date. Tomato seedlings generally need six to eight weeks of indoor growth before they’re ready to transition outdoors.
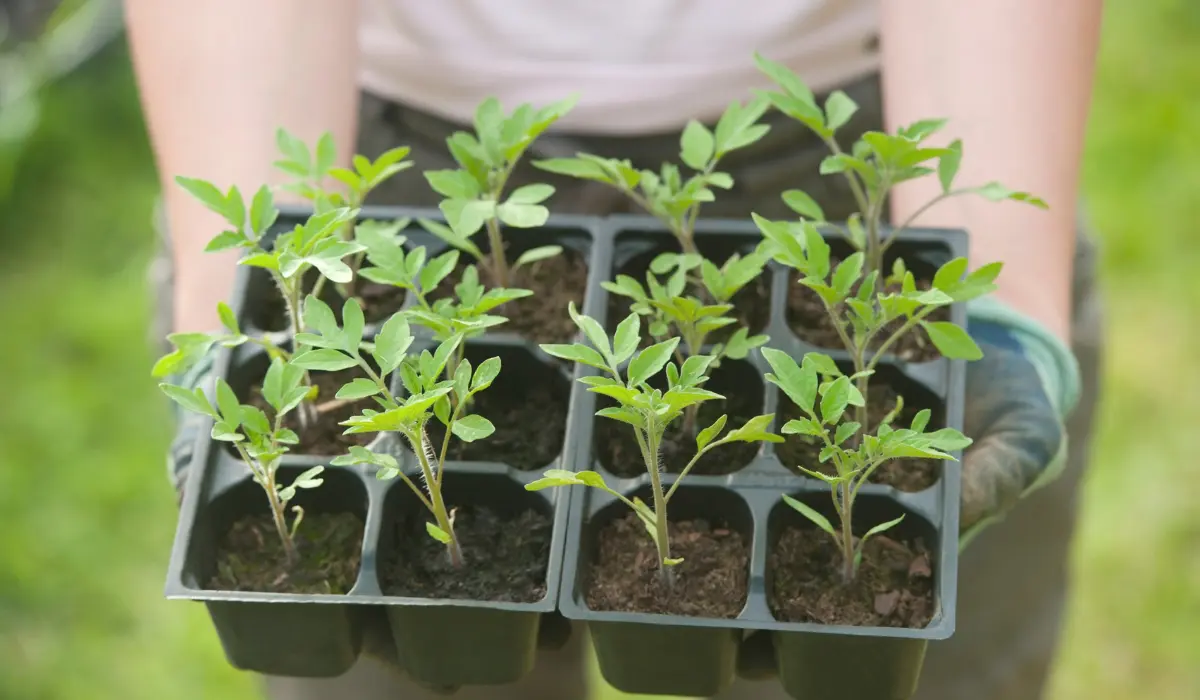
That means if the last frost in my region is around mid-May, I sow my seeds in mid-to-late March. That window gives the plants just enough time to develop sturdy stems, strong roots, and their first sets of true leaves without becoming root-bound or spindly.
Patience pays off. When I wait for the right moment, my seedlings stay compact, balanced, and ready to thrive when transplanting day arrives. It’s much easier to hold off planting than it is to rescue a tray of overgrown, stressed seedlings that were started too soon.
2. Do Use the Right Growing Medium
The foundation of a healthy seedling is the medium it grows in. One of the most common errors I see is people using regular garden soil indoors.
I made that mistake once, and ended up with compacted, heavy trays full of struggling seedlings. Garden soil holds too much water, contains microbes that cause disease, and simply doesn’t have the air pockets young roots need to breathe and expand.
For seed starting, I use a light, sterile seed-starting mix. The best mixes combine peat or coco coir for moisture retention, vermiculite for aeration, and perlite for drainage.
If I mix my own, I make sure it’s fluffy enough to fall through my fingers easily, that texture tells me roots will have room to move. Before sowing, I pre-moisten the mix so it’s damp like a wrung-out sponge, never soggy.
Once the seeds sprout, I keep the surface evenly moist using a misting bottle or bottom-watering tray. Consistent moisture is critical, but excess water suffocates roots.
With the right medium and moisture balance, seedlings grow dense, white roots that signal a healthy start, something no amount of fertilizer can replace.
3. Don’t Skimp on Light, It’s the Game Changer
If I had to pick one factor that separates success from struggle, it’s light. Tomatoes are sun lovers from the moment they emerge.
Without enough light, seedlings stretch desperately toward whatever weak source they can find, resulting in thin, floppy stems that can’t support themselves later.
Natural sunlight from a window often isn’t enough unless it’s a bright southern exposure that gets 10–12 hours of direct light.
I use full-spectrum LED grow lights to mimic natural sunlight. I keep them about two to three inches above the seedlings and adjust their height as the plants grow.
My lights stay on for 14–16 hours a day, a long day that encourages strong, stocky growth. A simple timer makes this easy to manage and keeps the schedule consistent.
You can tell you’ve nailed your lighting setup when the seedlings have sturdy stems and dark green leaves. If they start leaning or stretching, they need more light, or the fixture is too far away.
Proper lighting early on makes transplanting easier and ensures the plants hit the ground running when moved outside.
4. Do Keep Temperature and Airflow in Check
Temperature and airflow can be the difference between thriving seedlings and sudden collapse. Tomato seeds germinate best at 75–80°F (24–27°C), and young plants grow well around 65–75°F (18–24°C).
Too cold, and they stall; too hot, and they wilt. I use a heat mat under my trays until germination, then remove it once the seedlings are up to prevent leggy growth.
Still air and high humidity can quickly lead to damping-off disease, a fungal problem that causes seedlings to collapse overnight. I learned this the hard way years ago.
Now I always make sure there’s gentle air circulation around my seedlings. A small fan set on low helps keep air moving and strengthens the stems as they sway slightly in the breeze. It’s amazing how much sturdier they become with that subtle stress.
Maintaining steady conditions, not too wet, not too dry, not too hot, not too cold, is an art. But once you get the hang of it, your seedlings will respond with uniform, vigorous growth that sets them apart from those started in stuffy, stagnant environments.
5. Don’t Rush Transplanting, Harden Off Gradually
After weeks of care indoors, it’s tempting to rush seedlings outside at the first hint of warm weather. But moving them from a controlled indoor space to the unpredictable outdoors can shock them badly.
The sunlight, wind, and temperature fluctuations can overwhelm their tender tissues if they haven’t been prepared. I’ve lost beautiful seedlings this way, and it’s a mistake I never repeat.
The process of hardening off is gradual. I start by placing the trays outside in a shaded, sheltered spot for a couple of hours on a mild day.
Each day, I increase their time outdoors and expose them to a bit more direct sunlight and breeze. Over 7–10 days, they toughen up, and by the end, they’re ready to stay out full-time. During this period, I water carefully and watch for any signs of stress.
When I transplant, I always wait until both the soil and nighttime temperatures are warm, at least 55°F (13°C) overnight. By then, the seedlings have developed thick stems, strong roots, and resilience that will carry them through the growing season. Hardening off isn’t just a final step; it’s a rite of passage for every tomato plant I grow.
Final Thought
Starting tomato seedlings indoors isn’t just about growing plants, it’s about setting the tone for the entire season. Every choice, from timing to lighting to airflow, adds up.
Over the years, I’ve learned that the details matter most when the seedlings are small. When I respect their pace, give them the right environment, and avoid rushing any stage, they reward me with strong transplants that practically take off when they hit the garden soil.
Indoor seed starting is part science, part art, and entirely worth the effort. A little attention now means a lot more flavor and productivity later.
Every strong tomato plant begins with those early, thoughtful choices, and that’s what keeps me coming back to the seed trays year after year.
FAQs
Provide good airflow, avoid overwatering, and use sterile seed-starting mix. A light sprinkle of cinnamon on the soil surface also helps as a natural antifungal. Begin once the seedlings develop their first set of true leaves. Use a diluted, balanced fertilizer every 10–14 days to support steady growth. How do I prevent damping-off disease naturally?
When should I start fertilizing tomato seedlings indoors?
Good info. Will be starting mine soon.
You should.